Smart Shapes |
What do you want to do? |
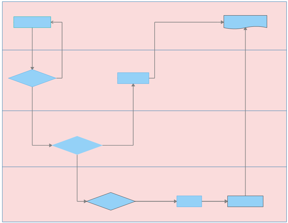
You can use Smart Shapes, such as swim lanes, funnels, or tables, in a flowchart or map to distinguish responsibility for sub-processes of a process. Swim lanes and funnels can be arranged either horizontally or vertically. For more information about formatting Smart Shapes see Work with objects. |
On the Insert tab, in the Objects group, click the Smart Shapes arrow, and then click either Horizontal Swim Lanes or Vertical Swim Lanes.
Then, click the number of swim lanes to insert.
Click in the map where you want the swim
lanes, hold down the mouse button, and drag.
The more you drag, the bigger the swim lanes are.
Read Hint
Do one of the following:
Right-click the swim lane, click Format Object, type the desired number of lanes in the Lanes box, and click Apply. | or | Right-click the swim lane, click Lanes, and choose the number of lanes you want. |
Do one of the following:
Right-click the swim lanes, click Format Object, and type the desired number of pixels in the Height and Width boxes. | or | Click the swim lanes to display handles, and drag the handles. |
On the Insert tab, in the Objects group, click the Smart Shapes arrow, and then click either Horizontal Funnel or Vertical Funnel.
Then, click the number of funnel segments to insert.
Click in the map where you want the funnel,
hold down the mouse button, and drag.
The more you drag, the greater the size of the funnel.
Do one of the following:
Right-click the funnel, click Format Object, type the desired number of segments in the Lanes box, and click Apply. | or | Right-click the funnel, click Lanes, and choose the number of segments you want. |
Do one of the following:
Right-click the funnel, click Format Object, and type the desired number of pixels in the Height and Width boxes. | or | Click the funnel to display handles, and drag the handles. |
On the Insert tab, in the Objects group, click the Smart Shapes arrow, and then click Table.
Then, click the number of rows and columns
to insert.
If you click More and drag,
you can interactively set the number of rows and columns.
Click in the map where you want the table,
hold down the mouse button, and drag.
The more you drag, the greater the size of the table
Right-click the table, and click Format Object.
Enter a number in the Rows and Columns boxes.
Click Apply.
Hover over the border of
a swim lane, funnel segment, or table row or column until the cursor
becomes a double arrow .
Drag the border to resize.