Use Map Slides |
What do you want to do? |
In Slides view, you can
create and manage a set of Map Slides based on the content of
your map.
When
you create a new slide or one based on a map topic, by default
it is added to a MindManager
Slide Deck
(MDECK) file, where changes that you make to the slide are not
reflected in the map topic. However, you can also choose work
with Map Slides, where all slides are based on topics and reside
within the map (.mmap) file.
Each
Map Slide can show a branch or sub-branch of the map, expanded
or collapsed as you desire. This can help focus attention on a
specific part of the map for presentation or printing.
 Read
Hint Read
Hint
|
See
also:
|
Synchronize
content between maps and Map Slides
Slides
that are synchronized with map topics are called Map Slides. A collection
of Map Slides is indicated in the Decks list of the Slides pane by Map
Slide icon  .
Any changes you make to the slide or the map topic are reflected in the
other.
.
Any changes you make to the slide or the map topic are reflected in the
other.
Enable
Map Slides
Click the File
tab.
Do one
of the following:
| To synchronize
content between maps and Map Slides in new maps that you create:
Click
Options, click
View, then check
the New Files have
Map Slides enabled check box in the Slides area. |
Or |
To
synchronize content between maps and Map Slides in the current
map:
Click
Info, click Map Settings, and
then check the Enable
Map Slides check box in the Slides area. |
On the map, the topic is marked
with a special icon  that indicates that this topic has a
slide associated with it. If the topic has more than one associated slide,
it is marked with a multiple slide icon
that indicates that this topic has a
slide associated with it. If the topic has more than one associated slide,
it is marked with a multiple slide icon  .
.
A topic can appear
on multiple slides, either alone, or on a sub-branch on another slide.
When you format
a connected topic or modify
an object in Slide or Map view, those changes are reflected in both
views. However when you reposition connected topics or objects in
Slide view, their position in Map view is not changed.
Read Hints
Start Slides
View
Read Hint
Set
the aspect ratio for Map Slides
You can change the aspect ratio for Map Slides. Any changes you make
are applied to all Map Slides in the map. The default aspect ratio is
16:9.
In the Slides
pane, click the Slide Settings button  ,
choose Aspect Ratio, and choose
one of the following:
,
choose Aspect Ratio, and choose
one of the following:
16:9
4:3
Create a Map Slide
Do any of the following:
To create an empty Map
Slide, click the New Empty Slide
button  in the Slides
pane.
in the Slides
pane.
To create a Map Slide from a topic, right-click a
topic in the map, choose Create Slide, and do one of the following:
To
add the slide to an existing group of Map Slides or a Deck, choose
the group of Map Slides or the Slide Deck.
To
add the slide to a new Deck, choose New
Deck.
To create a Map Slide for
every topic in the map, do one of the following:
In the Slides
pane, click the Slide Settings button ,
and choose Auto Create Slides.
On
the View tab, in the Slides pull down, choose Auto
Create Slides, and choose the group of Map Slides to which
to add the slides.
To create a Map Slide from
selected map content, select the content, then do one of the following:
In the Slides
pane, click the Slide Settings button ,
and choose Create Slide from Selection.
On
the View tab, in the Slides pull down, choose Create
Slide from Selection, and choose the group of Map Slides to
which to add the slides.
To
create a Map Slide from a topic container and its contents, right-click
the topic container and choose Create Slide, and choose the
group of Map Slides to which to add the slides.
To
create a Map Slide from an object, right-click the object and
choose Create Slide, and the group of Map Slides to which to
add the slides.
To create a duplicate of
a Map Slide, right-click the Map Slide in the Slides
pane and choose Duplicate Slide.
You
can also create a new Map Slide by dragging a piece of content from
the map to an empty area of the Slides pane.
The new Map Slide thumbnail will appear in the Slides pane. Each Map
Slide you create is the same size, but you can adjust
the size and position of its content.
View,
edit and adjust Map Slides
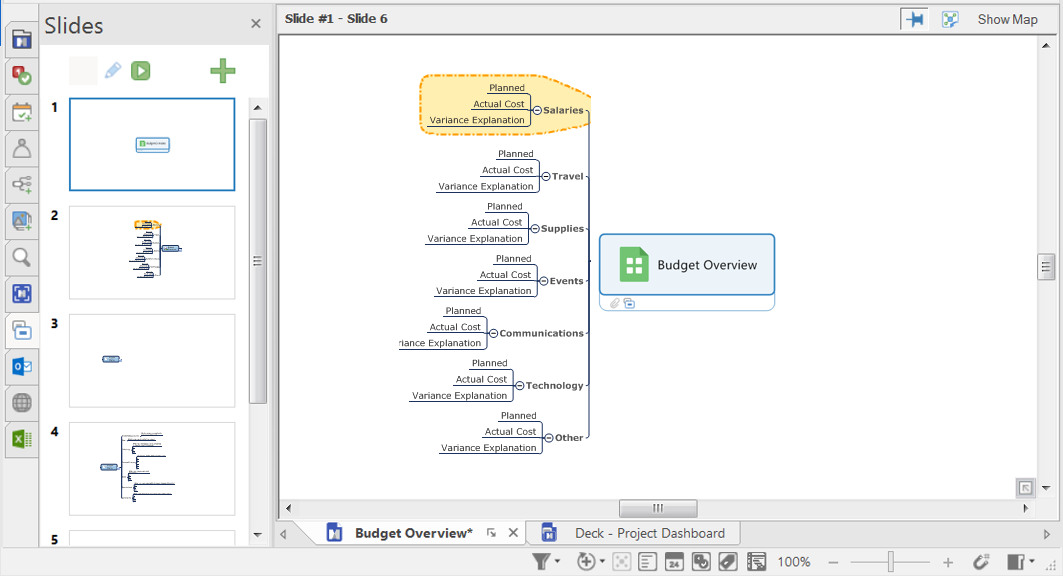
When you click a Map Slide thumbnail in the Slides pane it is displayed
in the main window. The title bar at the top of the main window displays
the name of the Map Slide you reviewing, the Pin button to unpin the boundary
and adjust the size and position of the slide content, and a button to
return to viewing the whole map.
To return to the full map view, click Show
Map at the top of the main window when viewing a Map Slide.
Edit Map Slide content
You can change how branches are displayed (expanded
or collapsed) on the Map Slide, and edit topics using the normal editing
commands.
Add content from maps to Map Slides
You can add topics and objects to Map Slides, whether the Map Slide
is empty or already has content, by dragging the content from the map
onto a Map Slide in the Slides pane.
You
can also copy content from a map or a slide and paste it into a Map Slide.
Add slide-only content
You can add topics and objects to Map Slides that do not appear in the
map.
In the Slides
pane, click the Map Slide.
The view switches to Slide view.
On the Insert tab, use
the options in the Objects
group to add a floating topic,
shape, Smart Shape,
relationship, boundary,
text box or image.
Change the size and position
of Map Slide content
When you are viewing a Map Slide, the gray box indicates its boundary.
The boundary is like a window through which you view the map content.
Slide boundaries are fixed or "pinned" as indicated by the Pin
button  on the Slides view title bar. In "pinned" mode, the zoom and
pan controls adjust your view of the slide. When boundaries are unpinned,
you can zoom and pan to adjust the position and size of the content on
each slide.
on the Slides view title bar. In "pinned" mode, the zoom and
pan controls adjust your view of the slide. When boundaries are unpinned,
you can zoom and pan to adjust the position and size of the content on
each slide.
It's easiest to adjust slide content when you can see the entire slide.
Before you begin, pan and zoom the view to see all 4 boundaries
of the slides you want to modify: While still in "pinned" mode
, use
the zoom control on the bottom toolbar, the zoom commands on the ribbon's
View tab, or use zoom keyboard shortcuts (CTRL + = , CTRL + -), and use
the scrollbars to pan the slide.
Unpin all Map Slide boundaries
On the Slides view top toolbar, click the Pin button
The Pin button
changes to  to indicate that the boundaries are
now unpinned, and each boundary is highlighted in blue in the main window.
to indicate that the boundaries are
now unpinned, and each boundary is highlighted in blue in the main window.
In "unpinned" mode , you can drag the boundary
to change its position, or drag its corners to resize it:
You can drag the Map Slide
boundary to change its location relative to the map content.
Drag the corners of the
Map Slide boundary to change its size relative to the map content.
The aspect ratio of the Map Slide always remains constant.
Read Hint
Refresh
Map Slide thumbnails
To ensure that your Map Slides reflect the current state of the map,
you can refresh them.
Export Map
Slides as images
You
can export a map slide to a range of image file formats.
Read Hint
Export a slide as an image
In
the Slides pane, right-click
the Map Slide, and choose Export
as Image.
In
the Image Export Settings dialog box, do any of the following:
● Export
the Map Slide content without the slide background by checking the Transparent background box.
● Specify the size of the image in the
Width and Height
boxes.
● Automatically open the image file by checking
the Show image after export
box.
In
the Export Slide as Image dialog, do the following:
● Enter
a file name in the File name
box and location.
● Navigate
to the location where you want to save the image.
● Choose an image file format from the Save as type drop-down menu.
Click Save.
Export multiple Map Slides as images
In the Slides pane, click the Slide Settings
button and choose Export as Image(s).
In the Image Export Settings dialog box, do one
of the following:
Enable
the All Slides option
to export all Map Slides.
Enable
the Range option, and
choose which Map Slides to export.
If you want
to export the Map Slide content without the slide background, check the
Transparent background box.
You can specify
the size of the image in the Width
and Height boxes.
Click OK.
Navigate
to the location where you want to save the images, and click
OK.
Print Map Slides
You can print a single Map Slide, a range of Map Slides, or all Map
Slides. Each Map Slide is printed on a separate page. The gray box on
each Map Slide indicates the area that will be printed.
On the View
tab, in the Presentation group,
click Slides.
Do one
of the following:
In the Slides
pane, click the Slide Settings button , and choose Print Slides. |
Or |
On the View
tab, click the Slides pull-down
arrow, and choose Print Slides. |
In the Print
dialog, under Print Range,
select All Slides, Range,
or Selected Slide.
Click Preview
if you want to verify what will be printed.
Click OK
to print the Map Slide(s).
Read Hint
 Read Note
Display
a slide show
Do one
of the following:
In the Slides
pane, click the Play Slide
Show button  . . |
Or |
On the View
tab, click the Slides pull-down
arrow, and choose Play Slide
Show. |
Or |
|
Use the controls at the
bottom of the screen to step through your Map Slides and zoom in or
out.
While you're displaying a slide show, you can launch the Slide Editor
by clicking the Open Slide
Editor button  .
.
Press Esc to
exit the slide show.
Read Hints
Manage Map Slides
Click and drag to re-order
your Map Slides.
Right-click a Map Slide
in the Slides pane, and use
the context menu to Rename
or Delete the Map Slide.
Deleting a Map Slide does not remove the topics from the map.
To remove all Map Slides
from the map, click the Slide Settings button in the Slides
pan, and choose Delete All Slides.